3 Lessons for better night photography
Night Photography - Tips for beginners (and non-beginners)
THE BASICS - GETTING CLEAN NIGHT PHOTOS
Night photography can be incredibly challenging, and for a person to new to this niche, it can pose a lot of potential questions. Common ones I get via Instagram DM or email are things like:
What lens do I need for night photography?
Do you need a tripod for night photography?
Can you shoot night photography handheld?
What settings should you use for night photography?
If you’ve ever asked yourself any of these questions, or anything related - this post is for you. We’re going to talk through some of the basic lessons I’ve learned over the last few years of shooting long exposures, doing street photography in low light, and in general, just shooting photos at night.
So, how do you take good photos at night, Austin? Lets discuss…
Please note - I will make some more "advanced blogs on this topic in the future (and video content around the topic for my Youtube channel), but first, I figure it makes sense to start with some of the basics.
LESSON ONE: WHY GEAR MATTERS IN NIGHT PHOTOGRAPHY
Though I don’t think its ever helpful to get wrapped up in what gear you need, I will admit that there are a lot of cases as a photographer in which you do NEED specific pieces of gear to perform specific functions. In night photography, this is especially this case, since not having certain gear can completely limit your capabilities in low light. In general, there are a couple pieces of gear that, depending on the type of night photography scenes you shoot, you’re going to want to add to your photography kit if you haven’t already.
WHAT IS A PRIME LENS? And when should you use one?
Simply put, a prime lens is a lens with a fixed focal length, unlike a “zoom” or “telephoto” lens, which provides a variety of focal lengths that the lens can be adjusted to. Prime lenses are advantageous for night photography because they often have maximum apertures that are much lower than a typical lens, with apertures of f/2, f/1.8, and even lower in many cases.
In night photography, this is helpful because a lower aperture will allow you to gather more light when taking a photo, getting a better exposure. In night photography, the number one challenge you’ll face is overcoming the dim lighting in the scenes you take pictures of - getting a decent exposure in spite of this is arguably the most important part of the night photography process.
In my personal experience, a prime lens is a must for situations like concert photography, where you have a low light scene and a fast moving subject. If you’re photographing a concert, you want to capture the action as the performer moves on stage, so you can’t use a longer exposure, or the subject would appear blurry in your photos. So, adjusting the aperture down into those lower numbers of f/2 or f/1.8 will give you a clean, bright exposure, while allowing you to still use a fast enough shutter speed to freeze the moment (e.g. 1/250s). This is why prime lenses are essential lenses for concert photography.
Another good use for prime lenses is street photograph at night. Similar to the concert photography example, you want to freeze the moment as your subjects do something interesting on the street, but you also need to gather enough light for the image to be visible. Prime lenses let you do this with a lower aperture and a higher shutter speed, and this is why prime lenses are the best lenses for street photography at night.
Now, there are workarounds to using a prime lens. For example, you could use a tripod (and we will talk about those next), but assuming you want to stick with a handheld setup, you could do a couple things. For one, you can make adjustments to your settings, such as slowing down your shutter speed, or increasing your ISO.
As for focal lengths, a lot of photographers that I know use wider focal lengths for night photography. I also personally prefer wider focal lengths, and when working with prime lenses, I usually stick with the 23mm or 35mm - but it just depends on the situation at the end of the day.
I recommend anyone who is starting out try a variety of different focal lengths until they develop a taste for a particular focal range.
USING A TRIPOD FOR NIGHT PHOTOGRAPHY
Tripods are an absolute necessity if you want to do long exposure photography of any kind, especially at night. A good rule of thumb is to default to the “inverted focal length” rule - where the slowest shutter speed you can use handheld is 1 over the focal length you’re using. So, if you’re shooting a photo with a 24mm lens, the lowest shutter speed you shoot use is 1/24. I’ll be honest, I get away with much lower - with a 23mm, I’ll often go as low as 1/15 handheld and see virtually zero shake in my images - so this is going to vary from person to person.
All this said, if you want to go any slower than that - lets say, 5 seconds - you absolutely need a tripod to do so. Tripods help stabilize the camera when you take a photo, allowing you to extend the shutter speed of the exposure without causing any camera shake. This is essential for getting a good exposure in a low light scene, especially if you want to shoot things like suburbia, rural landscapes, etc. at night.
When I photograph a neighborhood, I treat the scenes as if they are landscapes at any other time in the day, with a goal of getting as much depth, and as much of the scene in focus, as I possibly can. To do this, I often use a higher aperture, something like f/8. I also use lower ISOs to ensure there’s as little noise as possible in the photo, typically staying under ISO800.
Because of these artistic choices, I have to use much longer shutter speeds than I would otherwise to get a decent exposure of low light scenes like these. Instead of fractions of a second, I’m often using shutter speeds as long as multiple seconds, and in some cases, even minutes.
This is why for me, a tripod is essential for night photography. Simply because for 99% of my photos, I require it to get good exposures.
I also recommend using a tripod if you’re taking photos of cityscapes, skylines, or any type of light trails. You can try to shoot those things handheld, and you may in some cases actually get lucky and make a clean image, but having the stability a tripod provides will open up so many doors in terms of settings you can use, and will help ensure your image is sharp and well exposed.
DO YOU NEED BOTH A TRIPOD AND A PRIME LENS FOR NIGHT PHOTOGRAPHY?
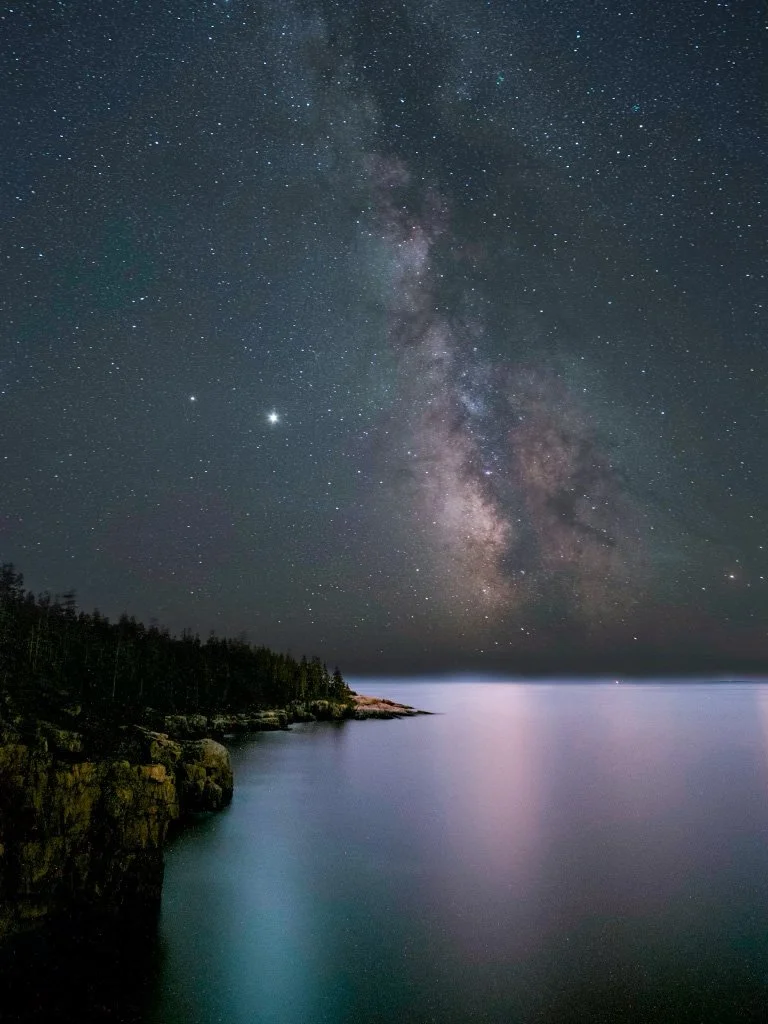
In my experience so far, having both a prime and a tripod going at the same time is not a requirement for 99% of low light scenes. In fact, the only scenario where I use both at the same time would be astrophotography or milky way photography - and even then, I’ve used workarounds when I had to. In general, I use tripods for most of my work because I’m often taking photos of scenes that require very long shutter speeds, so I need the stability of the tripod. In those cases, when on tripod, I don’t usually use a prime, because I don’t need to. The only times I use a prime are really for events/concerts or street photography at night.
LESSON TWO: HOW DO YOU KNOW WHAT SETTINGS TO USE FOR NIGHT PHOTOGRaphy?
The settings you use for any photograph, including night scenes but also really ANY scenes, should be based on two main ideas:
The Situation - what is the lighting like? How bright is your scene?
Your intention - Are you trying to get everything in focus? Do you want to freeze action or is it okay if moving objects are blurry?
I have “go to” settings in mind for certain scenarios, but at the end of the day it completely varies from place to place, as no two scenes are perfectly alike. For me, I think of night scenes in two camps, and I use different settings for these two camps.
First, theres the fast moving subjects in low light - things like street photography, concerts, etc.
Then there’s the slower scenes - landscapes at night. Suburbia, rural scenes, cityscapes - things with a lot of layers, but maybe not a specific subject or group of subjects to focus on.
For the first camp, the goal is to freeze the action of those moving objects while still coming away with a clean exposure. I often use a handheld set up, so I rely on a prime lens with a lower aperture to get a good exposure. Example of my settings in that case may be: 1/250, f/2.8, ISO1600.
For the second camp, the slower, darker scenes with a lot of depth to them, I’ll always be on a tripod, with settings that probably look something like: 1-10 seconds, f/8, ISO800.
The f/8 aperture provides me a lot of depth in my shot, and ensures a lot of the layers front to back will be in focus. The ISO of 800 gives me a little exposure wiggle room, but is still low enough to ensure there’s very little noise in the picture. The shutter speed being longer is where I gather all my light.
Take this scene here for example - shot on my canon 6D, I used a 10 second exposure, an f/8 aperture, and ISO 800.
And this image here - I used similar settings, but the exposure was 30 seconds this time, because in person, this scene was a lot darker and needed more exposure time.
In general, if I could quickly summarize my approach to settings, it would be that for fast moving subjects, I prioritize my shutter speed, ensuring the subject’s motion is frozen, and use a lower aperture and higher ISO to get an even exposure. With suburban scenes, or slower moving scenes with a lot of lowers, I use higher apertures to get more depth, lower ISOs to keep the image as clean as I can, and longer shutter speeds to maintain the exposure.
At the end of the day, all of these ideas here are subjective - they are based on my personal creative choices and they don’t have to reflect the choices you make yourself - all you need to decide is what your intention is, and make a decision on settings based on that and what the scene itself is requiring from you.
LESSON 3: HOW DO YOU FIND LOCATIONS FOR NIGHT PHOTOGRAPHY?
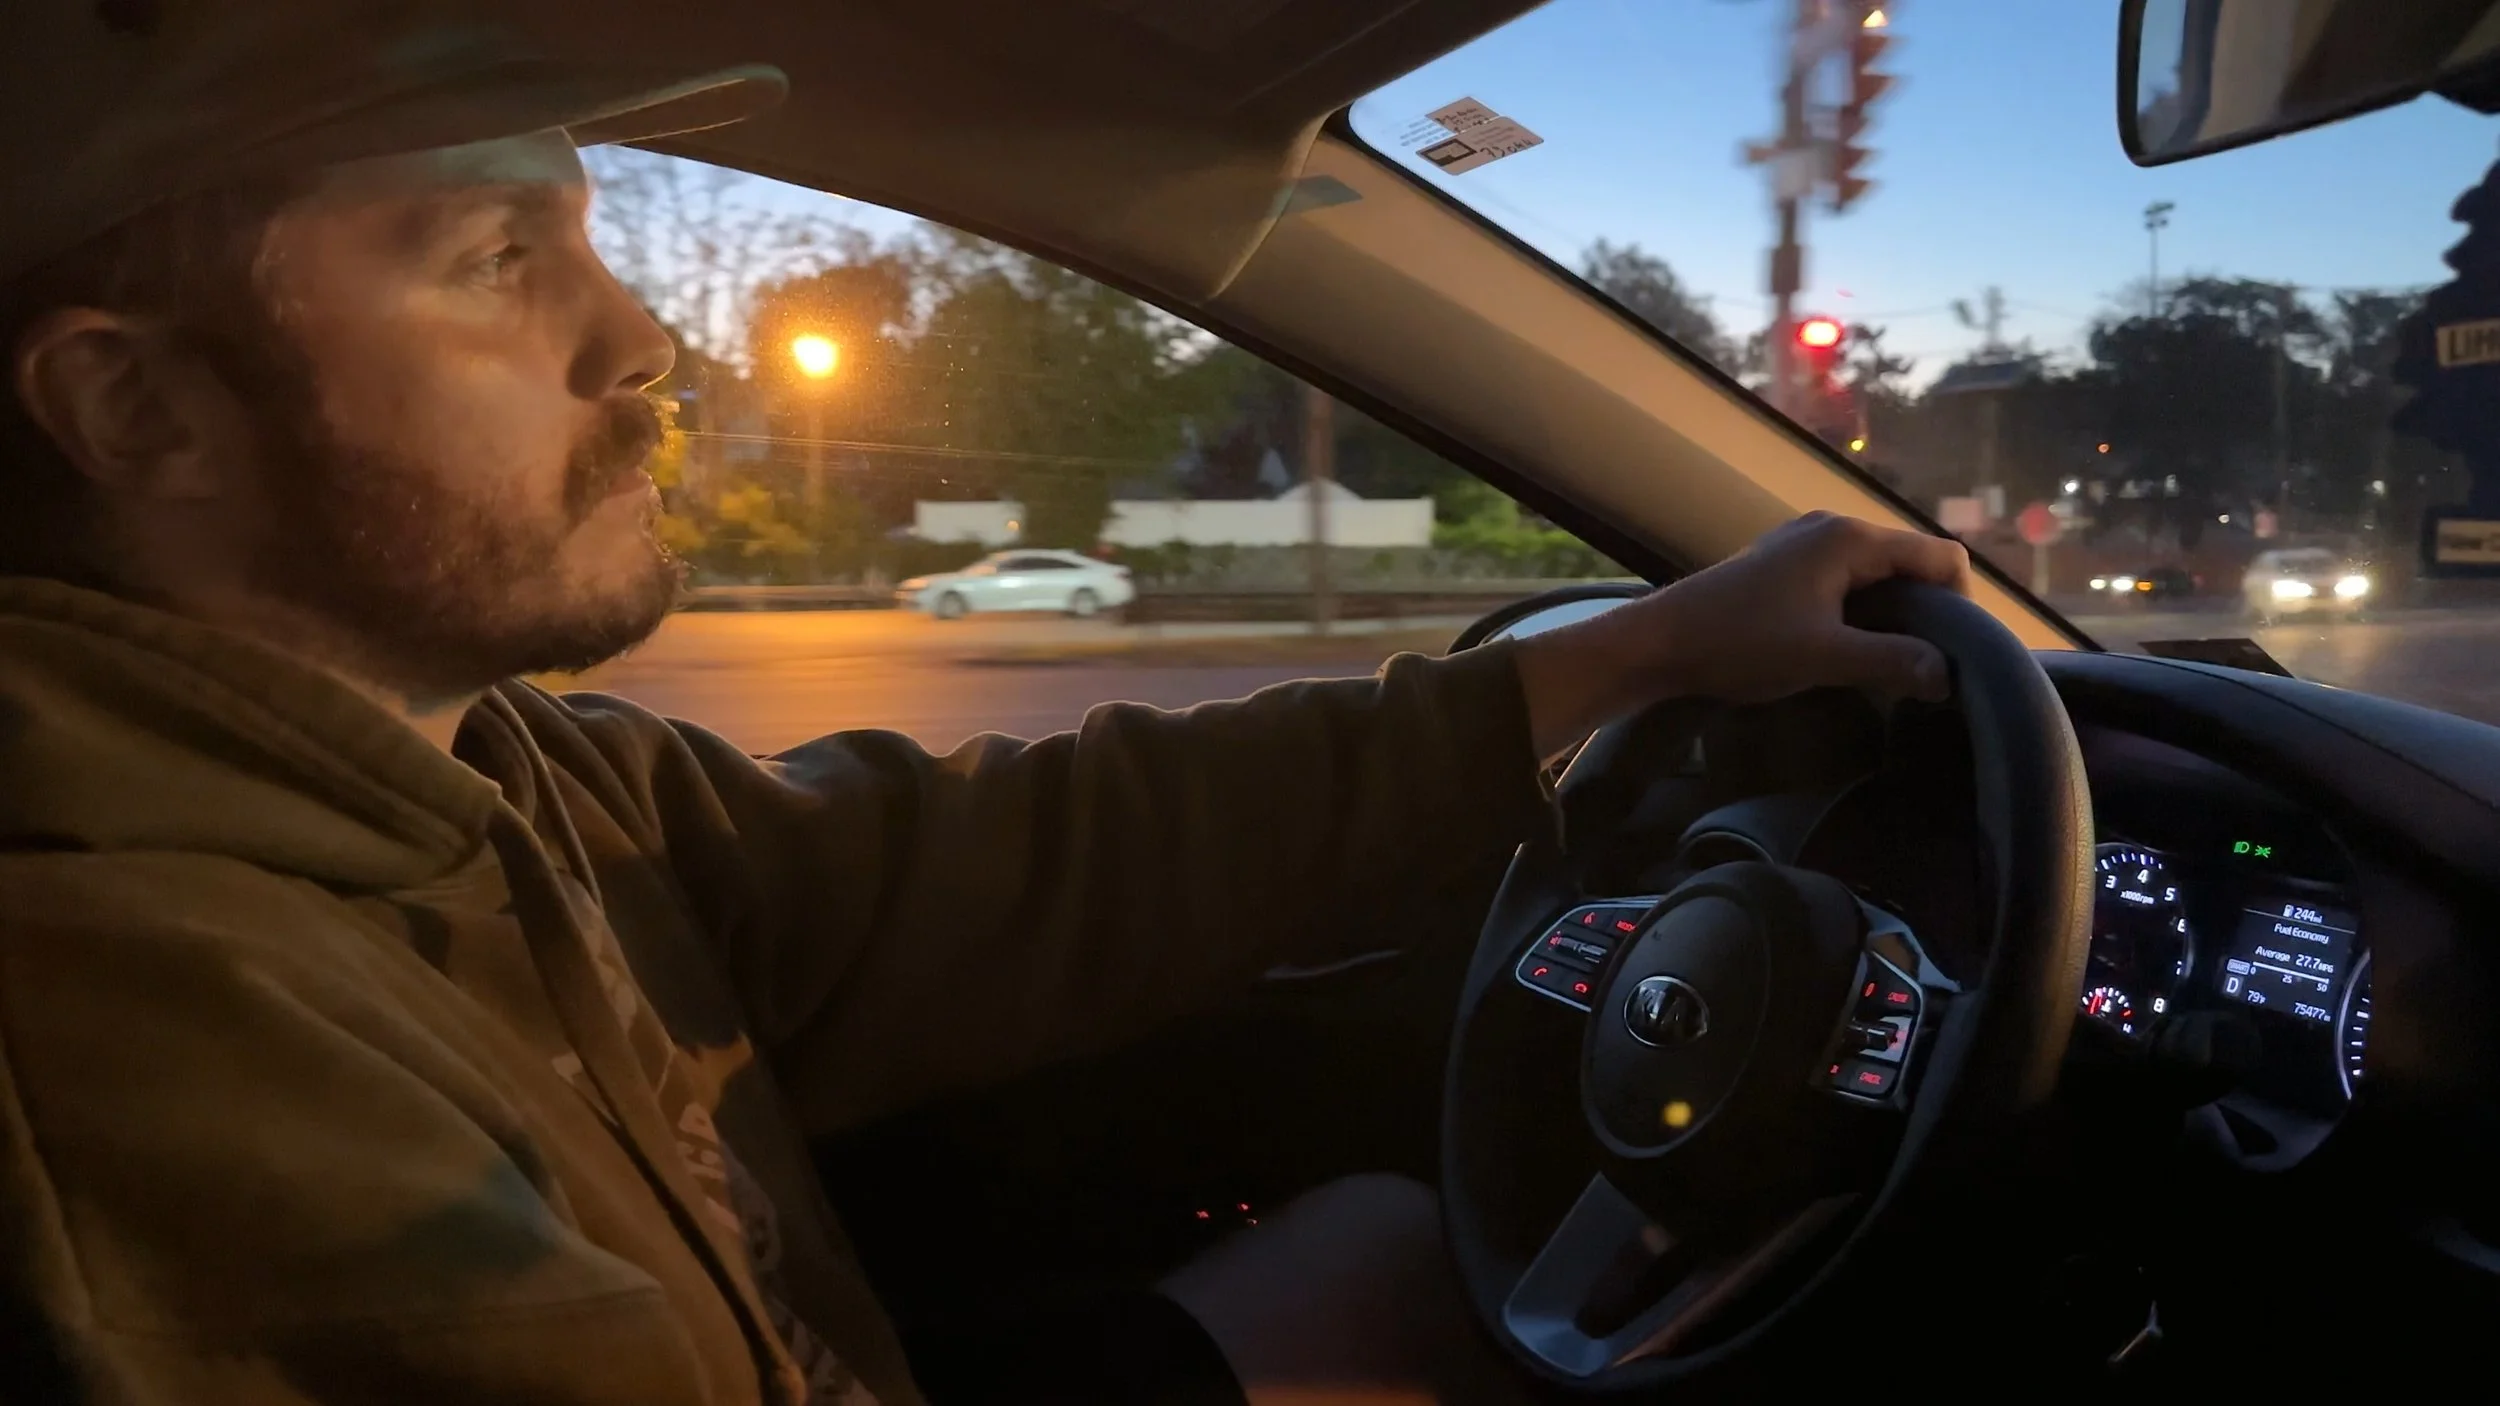
When I first started out, I found 99% of my locations just by exploring random streets on a whim. I’d drive around at night and whenever I saw a new street I hadn’t gone done before, I’d take it just to see if anything interesting was on it. I didn’t really have a plan or a rigid structure to this - it was more madness than method.
Now, I do still explore freely when I can, but I also use a number of other methods to find locations. In recent years, I’ve begun really leaning on google maps and google street view to give me perspective on potential photo spots that I come across. Let’s say I’m out running an errand and I come across a cool sign in the middle of the day, and the sign looks like it might light up later at night. I’ll pull over, mark it as a pin on google maps, and when I’m home, I’ll do a little research into the spot to see if I can find anything out about it.
If I think it is worth it, I’ll carve out some time for a night session and drive out to that spot to check it out. I recently did this with a sign I found on the way to the gym actually - I saw it in the middle of the day but I had a feeling it would light up at night, so I made a pin for the sign and did some research when I was home. Upon the search, I found out it actually did in fact light up, so I made a quick trip over there later that week and got a couple photos of it.
Another thing I’d recommend is Google Street View - In fact, I’d recommend this if you’re planning any day trips or road trips for photography in general because it’ll give you a really good sense of what a place will feel like when you’re there in person, and might help you decide whether an area is worth checking out.
I’ve found a lot of gems on there - so give it a try - you never know what you’ll find.
Help support my work and keep this blog ad-free by exploring the available products below!


